“Design is the effort behind simplicity”
This is one of my all-time favorite quotes about Design. Not only is it so very true, but I can credit it to another designer not much older than myself. Similar to a strong design solution, the quote makes so much sense, and yet there is much to read into. “Effort” translates to all the elements of a process—the research, the brainstorming, the sketching, the critiquing—and “simplicity” could be taken at face value while also referring to clarity and understanding of an idea.
The following is an outline of my “effort” and it is divided into two parts: the THINKING and the EXECUTION. The steps within each of these sections are only relative markers—often times the steps overlap with one another or repeat themselves.
Pictured : snapshot of wireframes for Flair
Part 1: THINKING
Step 1: OBSERVE
Nearly every good idea comes from simply being observant and listening to people. Case in point: In the fall of 2019, my supervisor at my on-campus work study brought in her four-month old daughter to the office and casually mentioned how difficult it was to cut the baby’s nails. Another woman jokingly mentioned that “there should be a place for that!” That “place” is now one of my projects, Piggies infant nail parlor.
Step 2: QUESTION/RESEARCH/BRAINSTORM
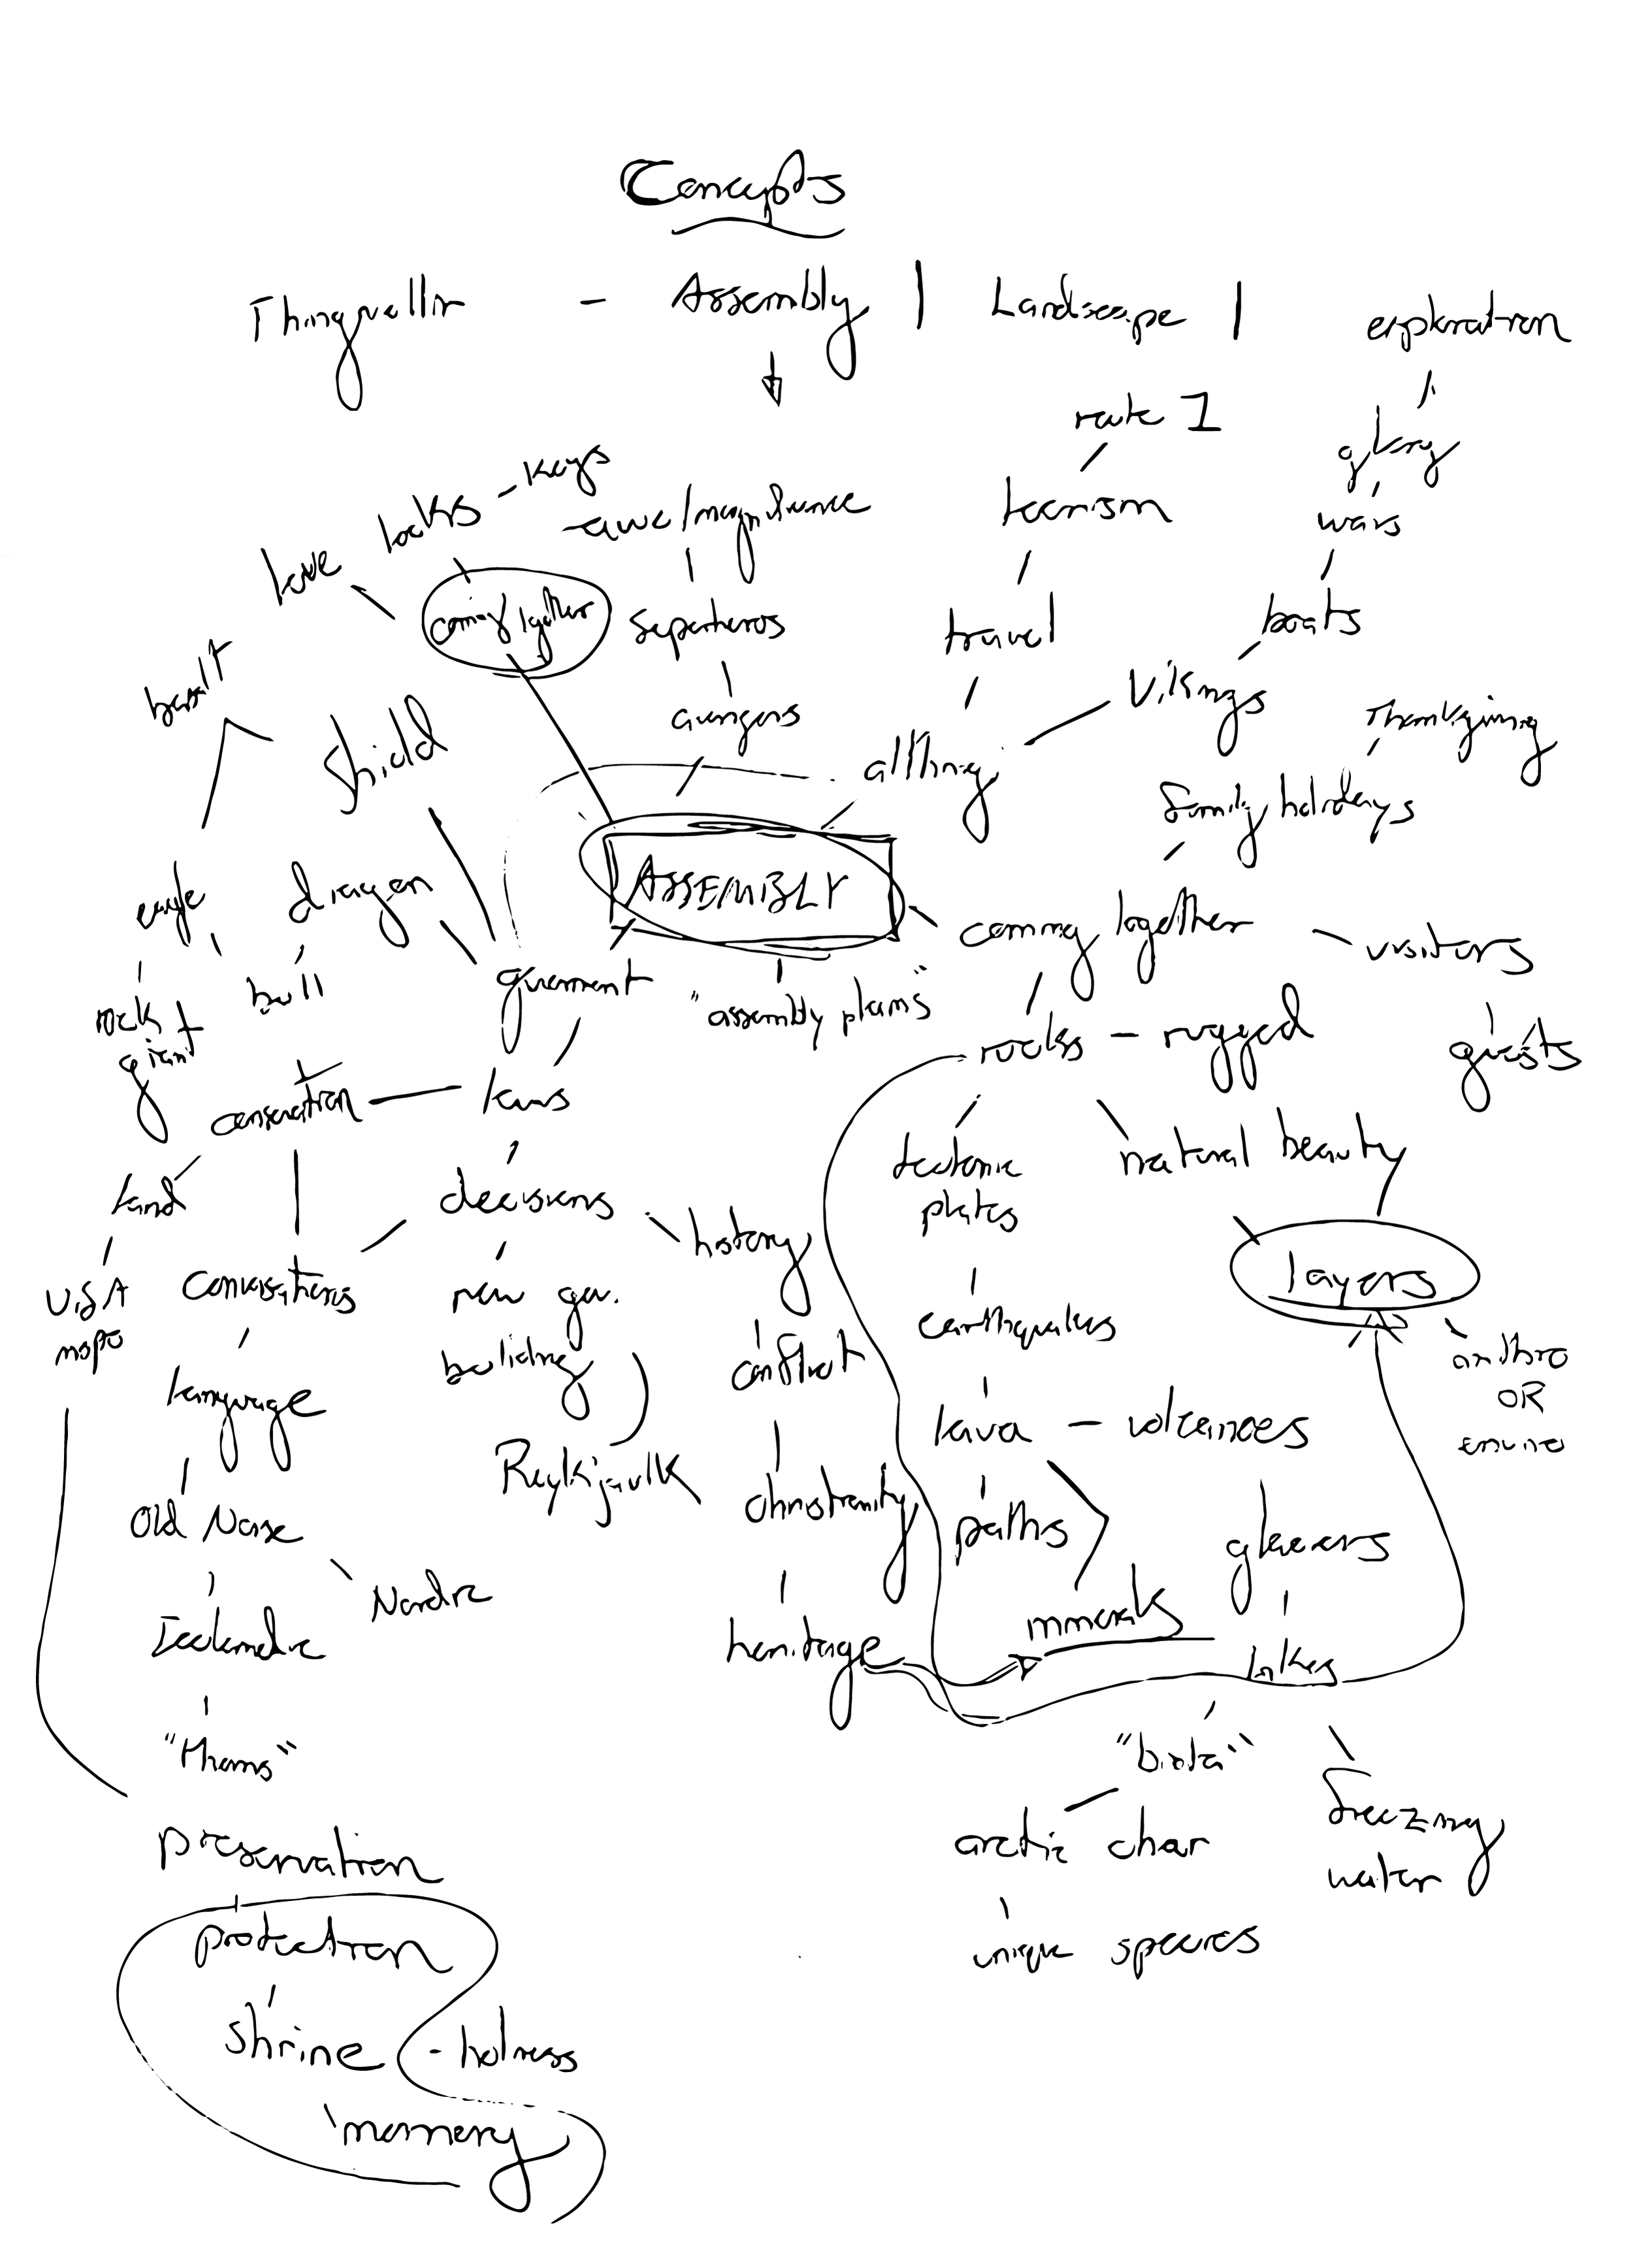
These work in tandem: asking good questions guides research which in turn sparks ideas. I spend time clarifying the questions I ask (and where I think I will find answers) before beginning research so my answers will be more useful and purposeful. While I’m researching, I will sometimes have an idea (or an inkling of one) and I make sure to record it in some way so that I can turn to it when my research is more robust. Once I have a hefty amount of new knowledge to work with, I get to brainstorming, which is my favorite part of this process. These brainstorms come in various forms including sketches, mindmaps, written sentences, or dialogue with others.
Pictured below: Questions for Culture Vulture, Research slide for Flair, and Brainstorming for Thingvellir National Park
Step 3: CLARIFY
I establish the idea clearly in writing so that I and others can understand what I have done so far and what I will be doing.
Ex. These are the written descriptions of the problem and positioning for Memory Palace:
Problem
The problem is two-fold: human memory can be extraordinary, but
it is also incredibly fallible. Secondly, spending weeks or months in quarantine with the same people can become boring and repetitive to the point of insanity. This is a brand new board game I invented that tackles both of these issues.
Positioning
This board game—called Memory Palace—is positioned as a memory-improving game that hinges on the players’ wacky imagination. The game takes the form of a race, which inherently makes it chaotic and intense, since players must perform fun but mentally demanding tasks within a set timeframe in order to win.
Part 2: EXECUTION
Step 4: PLAN/SKETCH/IMAGINE
Similar to BRAINSTORMING from Step 2 but more detailed. I taking the idea I conceived and I work through how it will manifest visually (and to the other senses, for that matter). This part of the process is done 100% in my sketchbook using real-world and online references, and it is typically ongoing until the end of a project, as the plans I originally make usually require changes.
Pictured below: a slideshow of sketches, planning, and mindmaps for several projects:
Step 5: MAKE SOMETHING UGLY
After all the planning and sketching, I produce the first iteration, and it is consistently crap—something that I “get out of my system.” I take a break, and then make another attempt.
Pictured: A glance at the first iteration of the website for Thingvellir National Park
Step 6: RECEIVE FEEDBACK
My second-favorite part of this process—talking to others about my ideas and what they think. I collect detailed notes and ask questions that will let me review the feedback with as much accuracy as possible.
Pictured: notes from one of many critiques
Step 7: REVIEW FEEDBACK, RETHINK, REPLAN, RE-SKETCH, MAKE CHANGES
Actually reviewing the feedback and notes I take is essential. I evaluate and make decisions—some feedback I wholly embrace and know it will have a strong impact on the work. Other times, I come to terms with a suggestion more slowly through a bit of trial and error. I then repeat steps 4 and 5: sketch and plan again, and make something less ugly.
Step 8: RECEIVE MORE FEEDBACK
The more the merrier!
Step 9: “KILL IT ‘TILL IT’S DEAD”
Repeat steps 7 and 8 until every tiny detail is tended to. By this step, the problems I’m solving are more technical than conceptual, and I am constantly learning and adapting as I practice new skills and sharpen old ones.
Pictured: In-progress work for Piggies infant nail parlor, Defeathered: Bird Ops Declassified, Flair, and Memory Palace.
Packaging dieline for Piggies infant nail parlor
Bare interior of Defeathered: Bird Ops Declassified Exhibit
First iteration of cocktail delivery app Flair
Makeshift studio for shooting pictures of cocktails for Flair
Unfinished game piece for Memory Palace: A Game of Racing Minds


